Finally, you have invested in an outdoor shed to get rid of the clutter that has been bugging you for a while! However, you need to know the installation process for metal outdoor sheds for lasting and sturdy construction. Not only that, you can increase the security of your belongings by adding deadbolts, rim locks, hasps & staples, or a simple padlock. Outdoor metal sheds are designed to withstand changing weather, pests & fire and maintain their structural integrity over time.
Perquisites: Assembling Metal Shed
- Gather all necessary tools and equipment.
- Read the instruction manual carefully given by the manufacturer.
- Invest in a quality PPE [Personal Protection Equipment] Kit, such as a helmet, safety glasses, dust masks, ear plugs/ muffs, gloves, safety boots, safety vests, or aprons.
- Keep the first aid box ready in case of an emergency.+
Intresting Guide You Might Like: Roll-Up Doors vs. Walk-through Doors For Metal Garden Shed
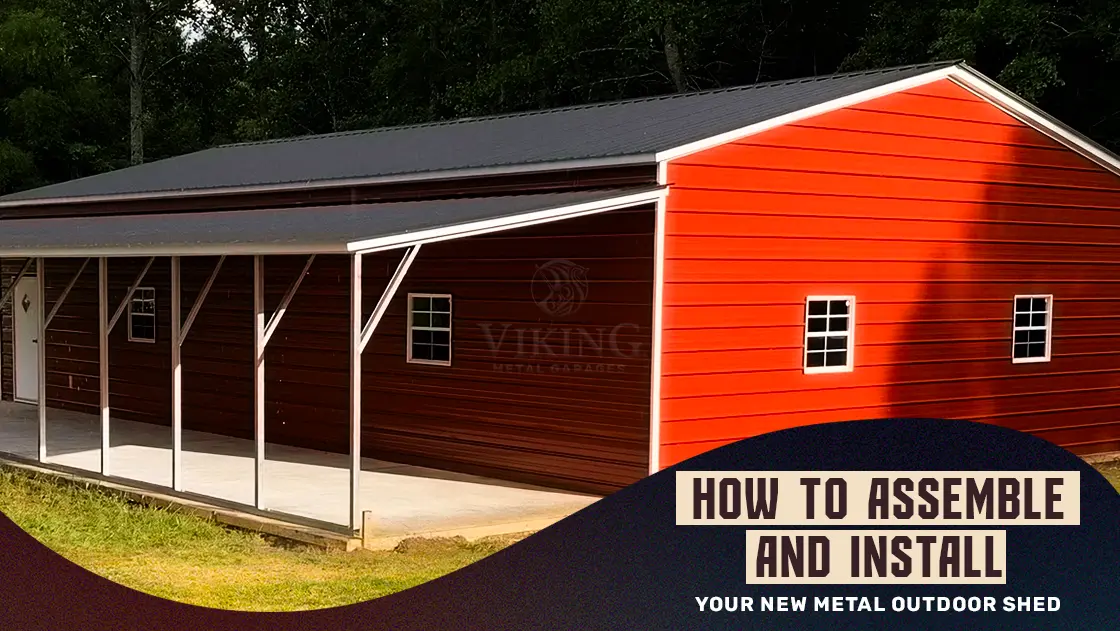
From Box To Backyard: Installing Your Metal Shed
Step 1: Choose The Right Location For Your Shed
Select a location on your lot that has good drainage so that water does not accumulate when it rains or snows. Before choosing the site for outdoor metal storage sheds, check with your local municipal to see if you need a permit. Usually, a shed that’s smaller than 100 to 120 sq. ft. does not need any permit.
Step 2: Prepare The Ground Before Installation
Clean the site by removing debris like rocks, boulders, tree branches, or vegetation. Before removing any large tree, ensure it is not protected under the law. A leveled ground is crucial before starting to install a metal prefab shed. That’s because an off-leveled shed can put a strain on one part of the frame, leading to structural failure.
Step 3: Lay Foundation For The Shed
The next step is to lay a foundation which depends on the type and functionality of the shed. With metal structures, one can opt for simply leveled ground, a gravel base, asphalt, or a concrete slab/ pier. You can install metal outdoor sheds directly on the leveled ground; however, we don’t recommend it, as a foundation will create a sturdier framework that will protect sheds longer.
If you decide to pour a concrete slab, the slab size must be equal to the shed frame dimension plus 1 foot [0.5 foot around the perimeter]. The edges should have a ¼” slope facing away from the building.
Step 4: Unpack & Organize The Shed Components
Before you begin installing shed frames, it is necessary to unpack all raw materials and lay them out to check if you have received all the parts given in the list. If you have received the manufacturer’s manual, study it carefully before beginning.
Tip: To avoid assembling and disassembling, double-check all parts, as reinstalling materials can cause scratches or dents.
The next step is to organize all the tools, equipment, and machinery that you will need to install the shed. Don’t forget to wear PPE before starting the construction project.
Step 5: Assembling The Frame Of The Shed
Ensure your concrete slab is dry before starting frame installation. Layout the base rails and secure them with the help of suitable anchors. Note that each type of foundation has a different anchor. Now, install the legs [metal posts], roof bow, and hat channel, and secure them with braces.
Once the basic skeleton of your outdoor shed is in place, check that all parts are secured with fasteners, nuts, and bolts.
Step 6: Attach Roof & Wall Panels
Now, attach the metal roof panels over the roof bow and hat channel. Secure them so they remain in place during snowfall and windy days. Metal sheds structure can have a horizontal roof or vertical roof depending on the design you pick and local building guidelines. If you opt for the vertical roof, install a ridge cap to seal the panels from the top. You can install structural trim to keep roof panels in place.
Once the roof is in place, secure the gable ends [front and back]. Now, assemble the side wall panels on the front, back, and sides. Attach the side panels to the base frames and corners. Ensure there are no gaps between the panels so rainwater or insects can slide in.
If you find any gaps, you can seal them with silicone based sealant that are waterproof, after completing the installation.
Step 7: Install Door & Window’ Frames And Panels
Assemble door and windows [if any] frames to attach door panels. With metal outdoor buildings, you can have roll-up, sliding, walk-in, or double-hinged doors. Attach vents or windows for airflow and light.
Make sure all moving parts are smooth, lubricated, and moving without any squeaking noise.
Step 8: Secure The Shed To The Ground With Anchors
Add more anchors to secure the entire shed to the ground. This will help the structure to remain firm during wind, rain, or adverse weather conditions. Anchors are critical to ensure the safety and security of your outdoor steel shed.
If you live in areas prone to natural disaster, we suggest opting for 12-gauge frames for metal buildings that gives extra support and security.
Step 9: Add Finishing Touches And Accessories
Finally, you can add organizers to keep your belongings safe and easily accessible. Opt for vertical shelving, adjustable racks, or industrial shelves. Outdoor metal storage sheds can also support overhead racks for storing seasonal items. You can keep items in clear bins and label them. Group similar items together for storage so they are easier to find when in need.
You can have a dedicated one side wall to install pegboards [with small and big holes], magnetic strips, and hooks to hang items.
Bonus: Maintenance Tips For Your Metal Outdoor Shed
- Keep your shed organized and declutter it often to remove unwanted or broken items.
- Trim the vegetation near the shed to keep insects and rodents at bay.
- Clean your shed once a year with warm water and mild soap.
- Remove any hanging/ broken branches over the roof to avoid dents.
- Keep the user manual handy when assembling the metal shed.
Build With Viking Metal Garages For A Sturdy Outdoor Shed
Be sure to follow all instructions given by the manufacturer, as each shed may come with different assembly steps. Clear the area, level it, and install your shed. And there you have it! Your brand new outdoor shed is home to your belongings you don’t want to part ways with! If you are looking for outdoor metal sheds for sale, contact (704)-741-1587 for exclusive offers! We include shipping and installation in our final quote so you can enjoy a hassle-free metal building construction experience.